Multipass 虚拟机 ssh 登录(密码方式)
[!NOTE]
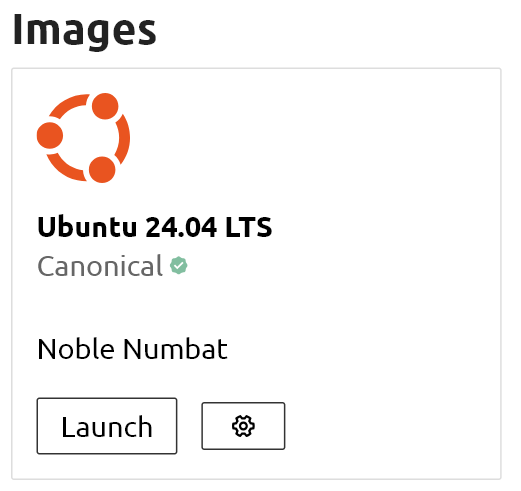
以 Ubuntu 24,04 LTS 为例
准备工作
为了演示新建一个示例虚拟机。
multipass launch --name vm01 -c 4 -m 4G -d 100G --network bridged

操作步骤
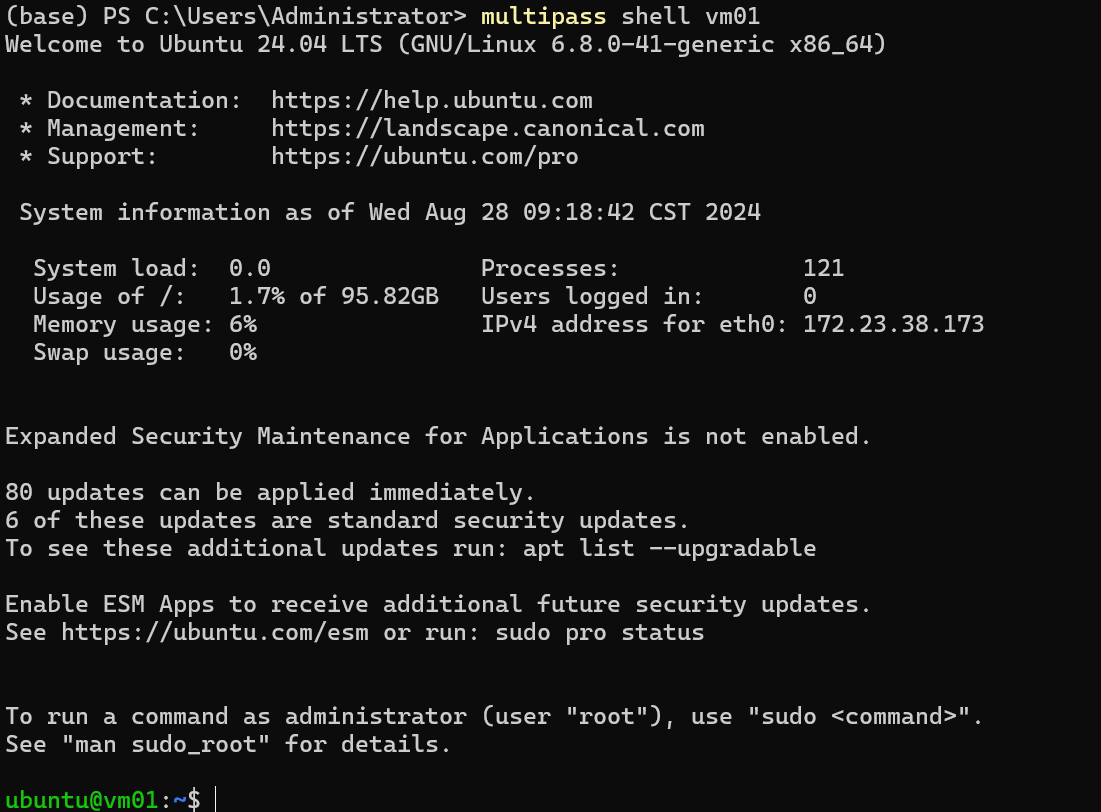
进入虚拟机
multipass shell vm01
设置密码
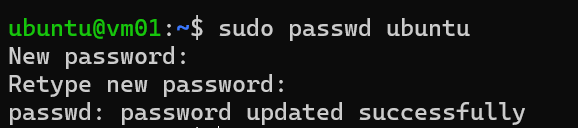
multipass 默认会给所有实例生成名为“ubuntu”的账号,所以首先我们给ubuntu设置密码,输入以下命令然后输入我们要设置的密码。这里你想通过什么用户进行ssh登录选择一个设置密码就行。
sudo passwd ubuntu
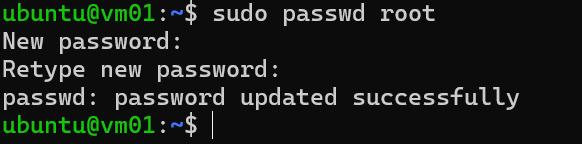
设置 root 账户密码,输入如下命令后进行密码设置。
sudo passwd root
设置完root账号密码后通过 su root 命令切换到root账户下,进行root账号的ssh 连接权限进行配置。
编辑 /etc/ssh/sshd_config 文件,运行:
sudo vi /etc/ssh/sshd_config
按下Insert键
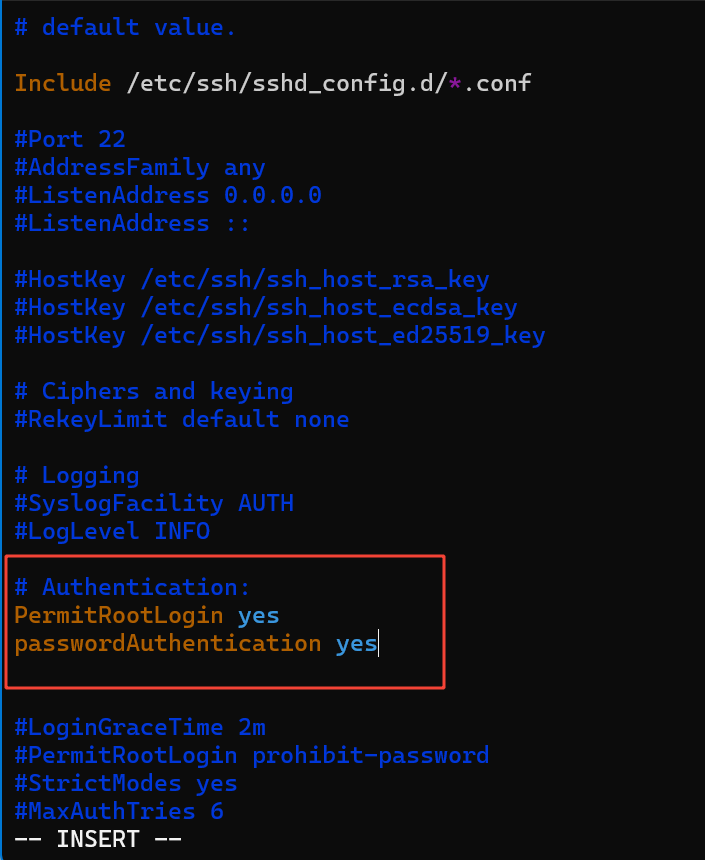
在打开的文件中,找到 找到 #Authentication,在其下面添加以下内容(允许root账号通过远程ssh进行连接):
PermitRootLogin yes
passwordAuthentication yes
编辑完成 按下Esc,按下英文 : ,然后按下 wq保存退出。
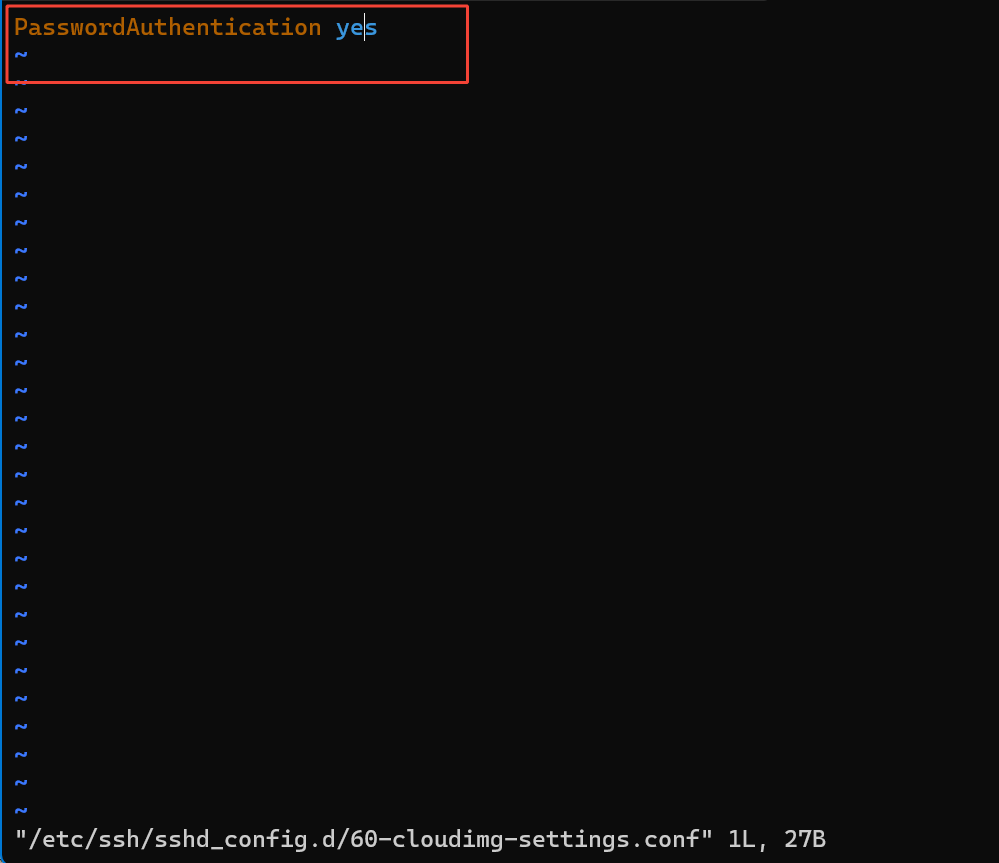
编辑 /etc/ssh/sshd_config.d/60-cloudimg-settings.conf 文件
sudo vi /etc/ssh/sshd_config.d/60-cloudimg-settings.conf
将passwordAuthentication no 改为passwordAuthentication yes
重启ssh 服务:
sudo service ssh restart
查看以下ip
ip a
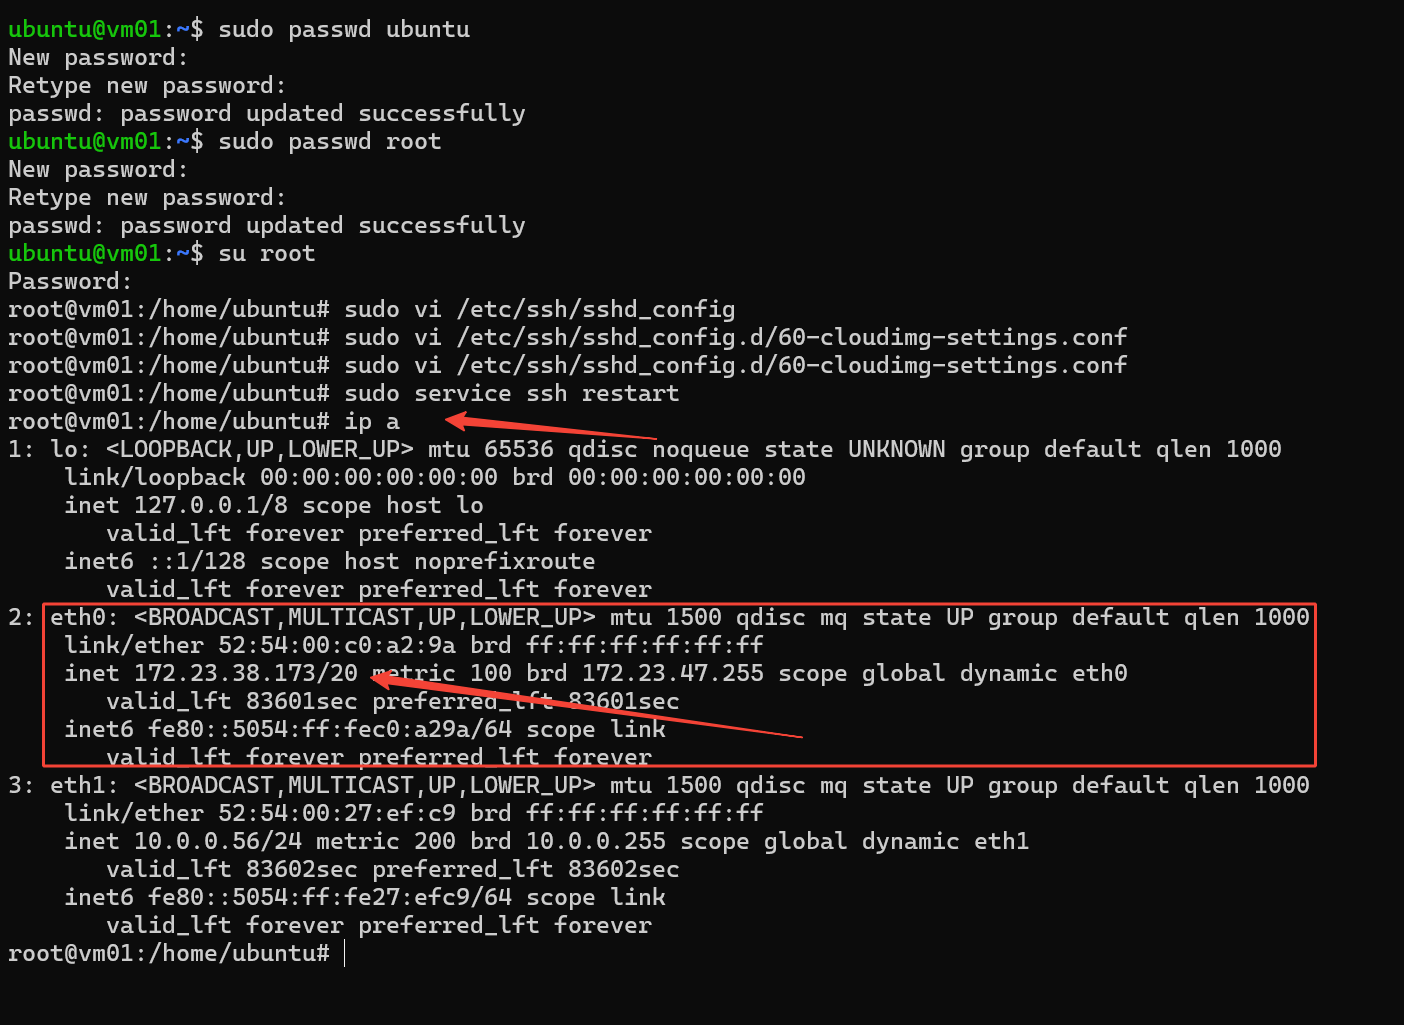
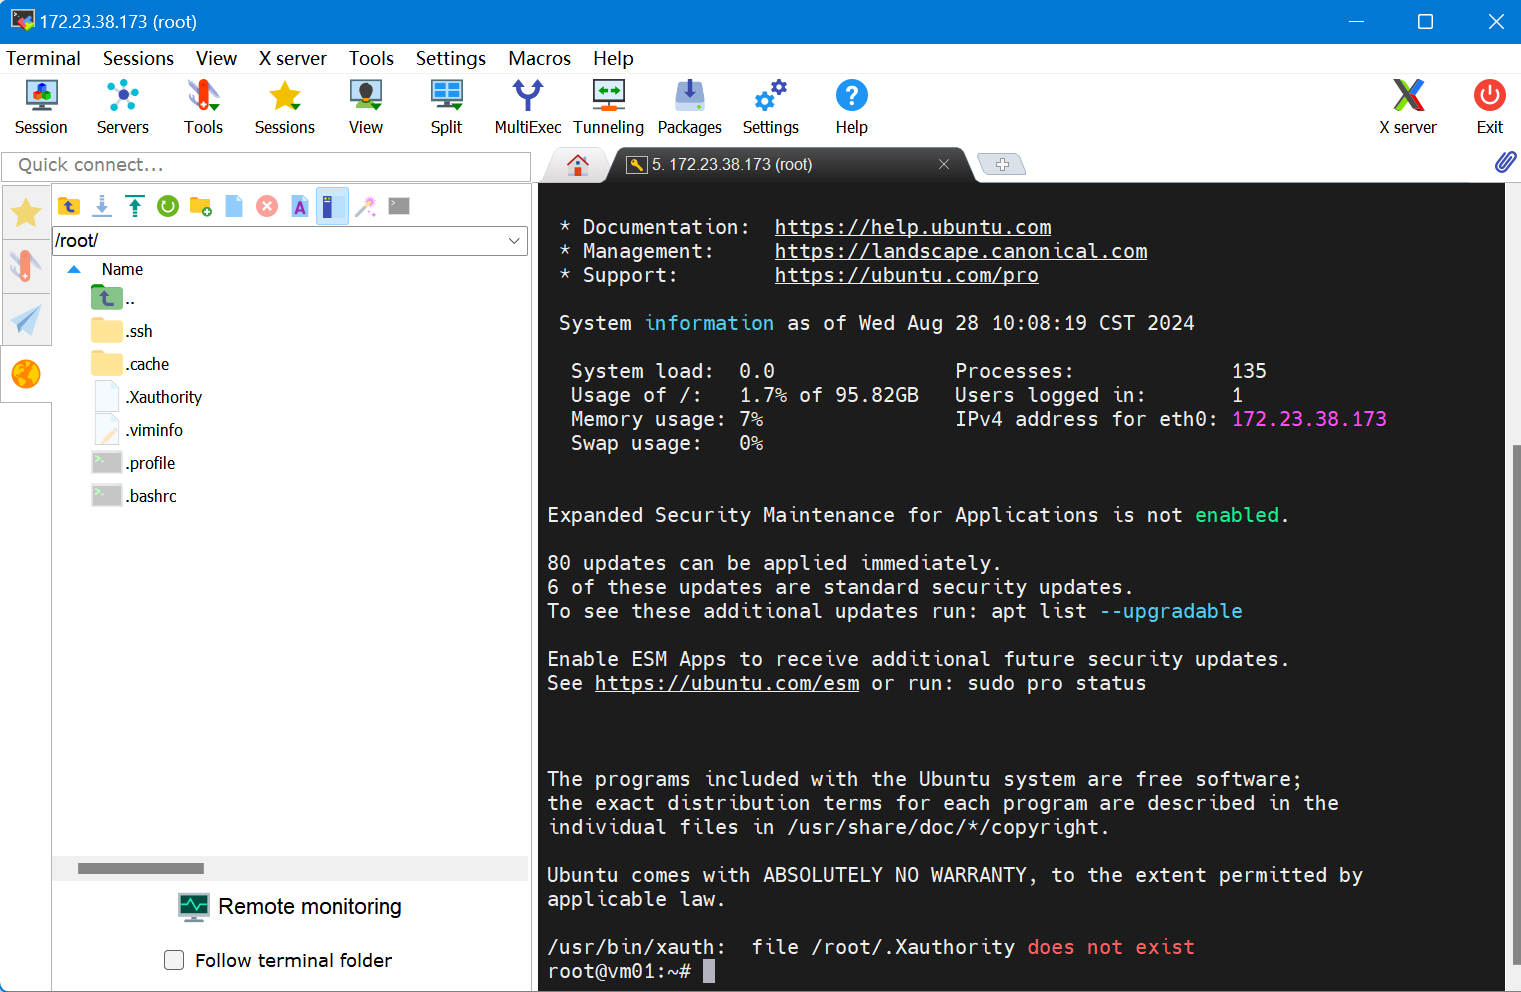
然后就可以通过 ssh 客户端连接 multipass 中的 linux 服务实例了。