某次在Uniapp群看到有人问uniapp如何操作dom元素。

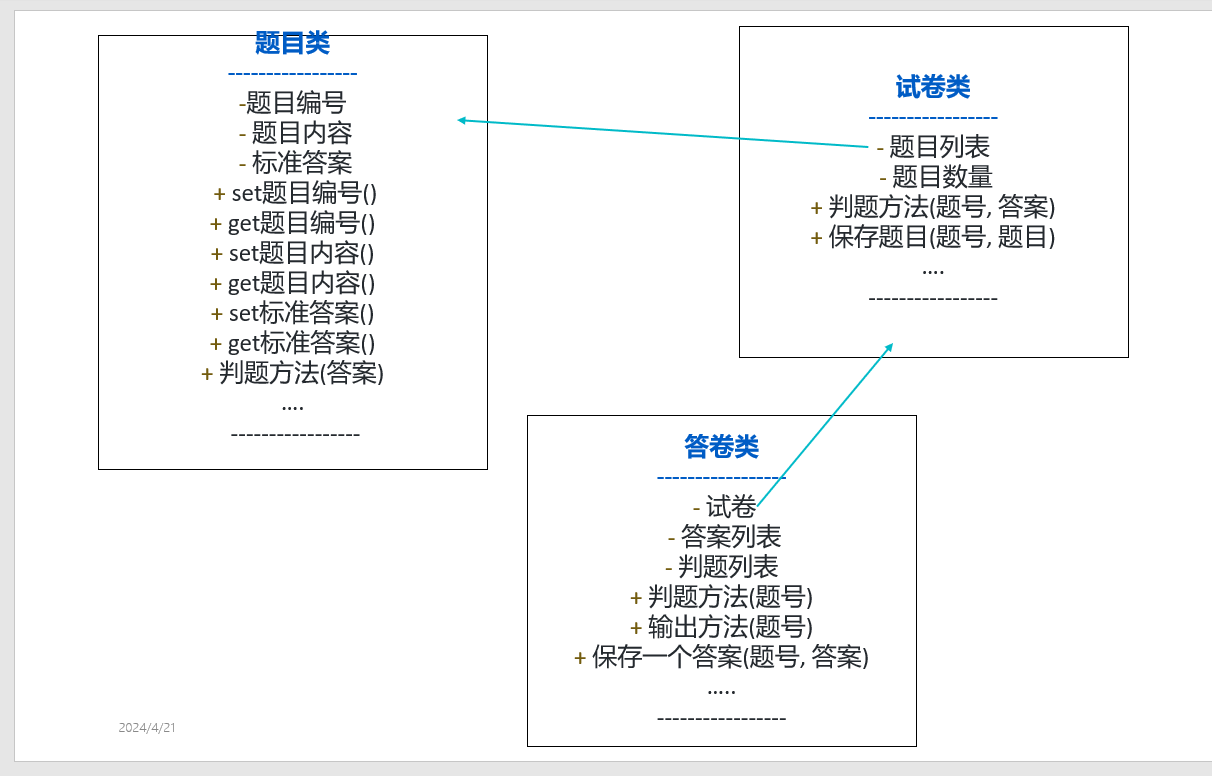
他想对这张表标红的区域,做dom元素获取,因为产品想让红色色块点击时,成为可编辑,渲染1~4月份之间的行程安排。
于是,有小伙伴说让他用position定位这里,点击时使红色色块层级抬高,弄个input上去。
但提问的小伙伴并没有决定这么做,随后不了了之。
在初步自学了一段时间React后,我觉得可以试一下用React实现这种效果。
以下图二为练习之作,实际上对应的月份编辑已经实现

如果要写成如图1那种展示和编辑,就需要td里加入div容器并对其绝对定位
而相应公式了我粗略的整理了一下,并附上
         <td className='sTh'>
          {/* 做判断,循环时得到的月和次月的做比较,如果次月依旧属于其中,则继续,直到次月不在算入规划中 */}
          {/* 默认 1个月为 width 90 * 1 + '%' right:'-5%'   */}
          {/* 那么 如果2月份也是 width 90 * 2 + '%' right:'-90%'  */}
          {/* 那么 如果3月份也是 width 90 * 3 + '%' right:'-185%'   -85为一刻度,初始-5% */}

          {/* 默认右侧偏移量是  100*1 -  5% *1 */}
          {/* 新增1个单位 等于  100*2 -  5% *2 */}
          {/* 新增2个单位 等于  100*3 -  5% *3 */}
          {/* (item.name, index + 1) */}
          <div className='sPo' style={{ width: 90 * 4 + '%', right: '-280%' }}
            contentEditable={true}
            suppressContentEditableWarning={true}
            onBlur={() => handleEdit}
            ref={editRef}>
            {/* <INput /> */}
          </div>
        </td>
具体做法,其实已经不远。
感兴趣的小伙伴可以体验一下,当然,如果发现有什么地方存在问题或缺陷bug,欢迎指正。
table 无状态组件
import React, { useState, useRef } from 'react';


const Table = () => {
  const [data, setData] = useState([{ name: '张三', li: [4, 9, 5, 6] }, { name: '李四', li: [11] }]);
  const editRef = useRef('null');

  // 被操作的名字
  // 被操作的月份
  // 被操作的值
  const handleEdit = (name, month, e) => {
    const newData = [...data];
    const item = newData.find((item) => item.name === name);
    item.li[month] = parseInt(e.target.innerText);
    setData(newData);
  };

  const renderTable = () => {
    const months = ['1月', '2月', '3月', '4月', '5月', '6月', '7月', '8月', '9月', '10月', '11月', '12月'];
    const tableData = [];

    // 添加表头
    const headerRow = [<th key="name" className='sTh'>姓名</th>];
    months.forEach((month) => {
      headerRow.push(<th key={month} className='sTh'>{month}</th>);
    });
    tableData.push(<tr key="header" className='sTh'>{headerRow}</tr>);

    // 添加数据行
    data.forEach((item) => {
      const dataRow = [<td key="name" className='sTh'>{item.name}</td>];
      months.forEach((month, index) => {
        if (item.li.includes(index + 1)) {
          const value = item.li[index + 1] || '';
          dataRow.push(
            <td
              key={month}
              style={{ backgroundColor: 'red' }}
              contentEditable={true}
              suppressContentEditableWarning={true}
              onBlur={(e) => handleEdit(item.name, month, e)}
              ref={editRef}
              className='sTh'
            >
              {value}
            </td>
          );
        } else {
          dataRow.push(<td key={month} className='sTh'></td>);
        }
      });
      tableData.push(<tr key={item.name} className='sTh'>{dataRow}</tr>);
    });

    return tableData;
  };

  return (
    <table className='sTab'>
      <tbody>{renderTable()}</tbody>
    </table>
  );
};
</details>


.sTab {
    border-collapse: collapse;
    border: 1px solid gray;
    width: 100%;
    text-align: center;
    font-size: 0.28rem;
}

/*
1. separate:默认值,边框会被分开,不会忽略border-spacing 和 empty-cells 属性。
2. collapse:如果可能,边框会合并为一个单一的边框。会忽略 border-spacing 和 empty-cells 属性。
3. inherit:规定应该从父元素继承border-collapse 属性的值
*/

.sTh {
    border: 1px solid gray;
    border-top: none;
    border-left: none;
    position: relative;
}

.sPo{
    height: 15px;
    position: absolute;
    top: 2px;
    right: -2%;
    z-index: 10;
    width: 100%;
    background: red;
}

/*
contenteditable  编辑时带来的黑框
*/
[contenteditable]:focus {
    outline: none;
}


