SpringBoot自定义starter
1 自定义starter
1.1 新建project和Module
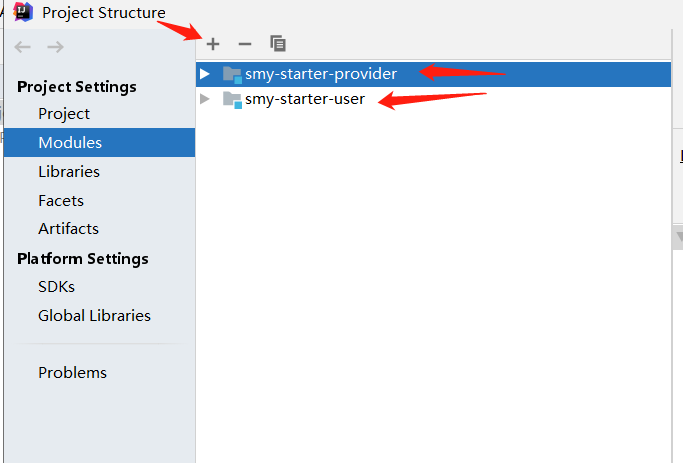
1 新建一个空project

2 新建两个Maven Module,一个是自定义的starter提供者(smy-starter-provider),一个是starter的使用者(smy-starter-user)。
1.2 对于starter-provider
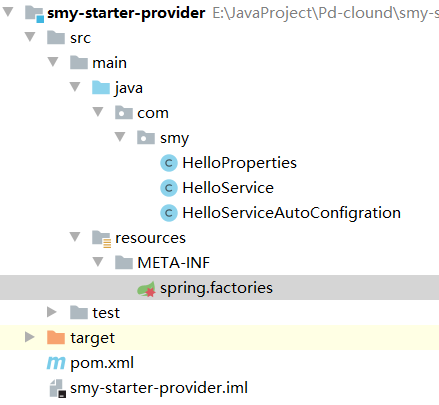
对于starter提供者,作如下配置 pom,java文件,factories
该Module的文件结构如下,
pom.xml文件
<?xml version="1.0" encoding="UTF-8"?>
<project xmlns="http://maven.apache.org/POM/4.0.0"
         xmlns:xsi="http://www.w3.org/2001/XMLSchema-instance"
         xsi:schemaLocation="http://maven.apache.org/POM/4.0.0 http://maven.apache.org/xsd/maven-4.0.0.xsd">
    <modelVersion>4.0.0</modelVersion>
<!--    指定parent,里面有许多依赖的版本 -->
    <parent>
        <groupId>org.springframework.boot</groupId>
        <artifactId>spring-boot-parent</artifactId>
        <version>2.2.6.RELEASE</version>
    </parent>
    <groupId>org.example</groupId>
    <artifactId>smy-starter-provider</artifactId>
    <version>1.0-SNAPSHOT</version>

    <dependencies>
        <dependency>
            <groupId>org.springframework.boot</groupId>
            <artifactId>spring-boot-starter</artifactId>
        </dependency>
        <dependency>
            <groupId>org.springframework.boot</groupId>
            <artifactId>spring-boot-autoconfigure</artifactId>
        </dependency>
        <!--支持ConfigurationProperties-->
        <dependency>
            <groupId>org.springframework.boot</groupId>
            <artifactId>spring-boot-configuration-processor</artifactId>
            <optional>true</optional>
        </dependency>
        <!--lombok依赖,简化代码-->
        <dependency>
            <groupId>org.projectlombok</groupId>
            <artifactId>lombok</artifactId>
        </dependency>
    </dependencies>
</project>
属性配置类,HelloProperties.java
package com.smy;

import lombok.Data;
import org.springframework.boot.context.properties.ConfigurationProperties;
import org.springframework.boot.context.properties.EnableConfigurationProperties;

/**
 * 属性配置类,相当于一个实体类,作用就是接收参数
 * 封装这个对象的过程是SpringBoot做的
 */
@Data
@ConfigurationProperties(prefix = "hello")
public class HelloProperties {
    private String name;
    private String age;
}
HelloService.java
package com.smy;

public class HelloService {
    private String name;
    private String age;

    public HelloService (String name, String age){
        this.name = name;
        this.age = age;
    }

    public String sayHello (){
        return "hello ==== 姓名:" + this.name + "--- age:" + age;
    }
}
HelloServiceAutoConfigration.java,作用相当于Spring xml配置中的
package com.smy;

import org.springframework.beans.factory.annotation.Autowired;
import org.springframework.boot.autoconfigure.EnableAutoConfiguration;
import org.springframework.boot.autoconfigure.condition.ConditionalOnClass;
import org.springframework.boot.autoconfigure.condition.ConditionalOnMissingBean;
import org.springframework.boot.context.properties.EnableConfigurationProperties;
import org.springframework.context.annotation.Bean;
import org.springframework.context.annotation.Configuration;

/**
 * 自动配置类,用于自动配置HelloService对象
 *
 */
@Configuration
@EnableConfigurationProperties(HelloProperties.class) // 表示使用Springboot自动装配 HelloProperties,这个属性配置类

public class HelloServiceAutoConfigration {
    // 自动注入这个属性类,通过属性类 获得 属性值
    @Autowired
    private HelloProperties helloProperties;

    @Bean
    @ConditionalOnMissingBean // 当没有这个类型的bean时,才会注入
    public HelloService helloService() {
        return new HelloService(helloProperties.getName(), helloProperties.getAge());
    }
}
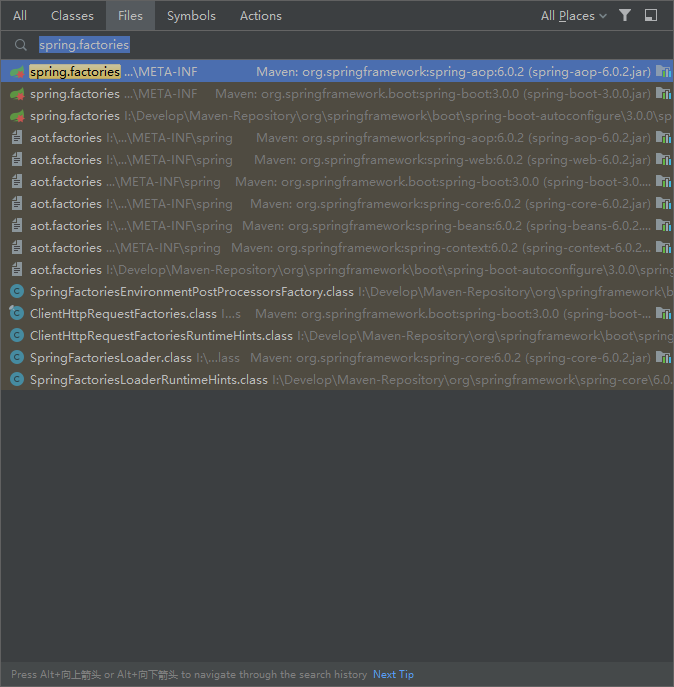
spring.factories
org.springframework.boot.autoconfigure.EnableAutoConfiguration=com.smy.HelloServiceAutoConfigration
1.3 install
通过执行starter提供者的install,将jar包安装到本地maven仓库,方便之后的引用。

1.4 对于starter-user
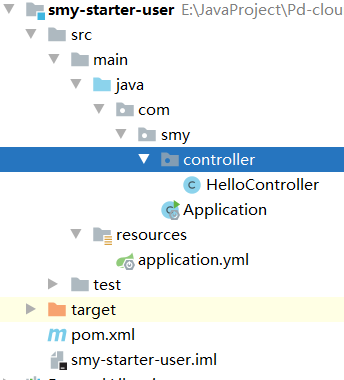
对于starter使用者,做如下测试,java文件,yml文件
该Module的目录结构如下,
配置starter的属性,application.yml
server:
  port: 8080
hello:
  age: 111
  name: xiaoming
HelloController.java
package com.smy.controller;

import com.smy.HelloService;
import org.springframework.beans.factory.annotation.Autowired;
import org.springframework.web.bind.annotation.GetMapping;
import org.springframework.web.bind.annotation.RequestMapping;
import org.springframework.web.bind.annotation.RestController;

@RestController
@RequestMapping
public class HelloController {
    @Autowired
    private HelloService helloService;

    @GetMapping("/hello")
    public String sayhello() {
        return helloService.sayHello();
    }
}
启动类,Application.java
package com.smy;

import org.springframework.boot.SpringApplication;
import org.springframework.boot.autoconfigure.SpringBootApplication;

@SpringBootApplication
public class Application {
    public static void main(String[] args) {
        SpringApplication.run(Application.class, args);
    }
}
1.5 测试
SpringBoot项目启动成功后,访问 http://localhost:8080/hello ,如果

则证明成功。
2 执行流程
-
我们的SpringBoot项目,通过Application.java的主函数启动,而主函数是使用注解
@SpringBootApplication修饰的,而@SpringBootApplication是一个复合注解,复合注解的其中一个是@EnableAutoConfiguration。 -
@EnableAutoConfiguration表示启用自动配置。@EnableAutoConfiguration也是一个复合注解,复合注解的其中一个是@Import({AutoConfigurationImportSelector.class}) -
@Import({AutoConfigurationImportSelector.class})表示将类交给Spring容器实例化。而AutoConfigurationImportSelector(自动配置导入选择器)这个类,会扫描所有依赖的jar包下是否存在META-INF/spring.factories文件 -
META-INF/spring.factories文件是固定写法。在里面配置需要自动配置的类。通过
org.springframework.boot.autoconfigure.EnableAutoConfiguration=com.smy.HelloServiceAutoConfigration通过全类名
com.smy.HelloServiceAutoConfigration来找到哪个类需要自动配置。 -
在
HelloServiceAutoConfigration类中,一般使用@Configuration、@EnableConfigurationProperties(xxx.class)修饰。里面的方法,使用@Bean修饰,起到Spring中标签的作用。而 @EnableConfigurationProperties(xxx.class),表示开启配置属性,即通过读取yml文件配置xxx.class的实例对象。 -
这就是starter自动配置的大致过程。结果看起来是,springboot读取我们自定义的yml文件,初始化化实例,并交给Spring容器管理。