1. 引言
Cesium是一款三维地球和地图可视化开源JavaScript库,使用WebGL来进行硬件加速图形,使用时不需要任何插件支持,基于Apache2.0许可的开源程序,可以免费用于商业和非商业用途
Cesium官网:Cesium: The Platform for 3D Geospatial
Cesium GitHub站点:CesiumGS/cesium: An open-source JavaScript library for world-class 3D globes and maps (github.com)
API文档:Index - Cesium Documentation
本文描述Cesium的影像底图加载
2. 影像底图加载
2.1 Cesium的影像图层
Cesium中的影像图层位于viewer.imageryLayers下,可以对其进行添加、删除影像图层操作
参考官方API文档:Viewer - Cesium Documentation
可以发现Viewer包含imageryLayers (ImageryLayerCollection类型),imageryLayers 由imageryLayer 构成,可以对imageryLayers 进行添加、删除imageryLayer 的操作。imageryLayer 的构造函数为:new Cesium.ImageryLayer(imageryProvider, options),而Cesium支持的imageryProvider包含以下:
- ArcGisMapServerImageryProvider
- BingMapsImageryProvider
- OpenStreetMapImageryProvider
- TileMapServiceImageryProvider
- GoogleEarthEnterpriseImageryProvider
- GoogleEarthEnterpriseMapsProvider
- GridImageryProvider
- IonImageryProvider
- MapboxImageryProvider
- MapboxStyleImageryProvider
- SingleTileImageryProvider
- TileCoordinatesImageryProvider
- UrlTemplateImageryProvider
- WebMapServiceImageryProvider
- WebMapTileServiceImageryProvider
即,Cesium主要支持ArcGIS、Bing、OSM、Google、Mapbox等的地图服务和OGC标准的WMS、WMTS地图服务
2.2 添加第三方服务
这里的第三方地图服务主要是指ArcGIS、Bing、OSM、Google、Mapbox的地图服务
主要步骤为选择并构造相应的imageryProvider,然后构造为imageryLayer,最后add到viewer中(也可以直接viewer.imageryLayers.addImageryProvider(provider))
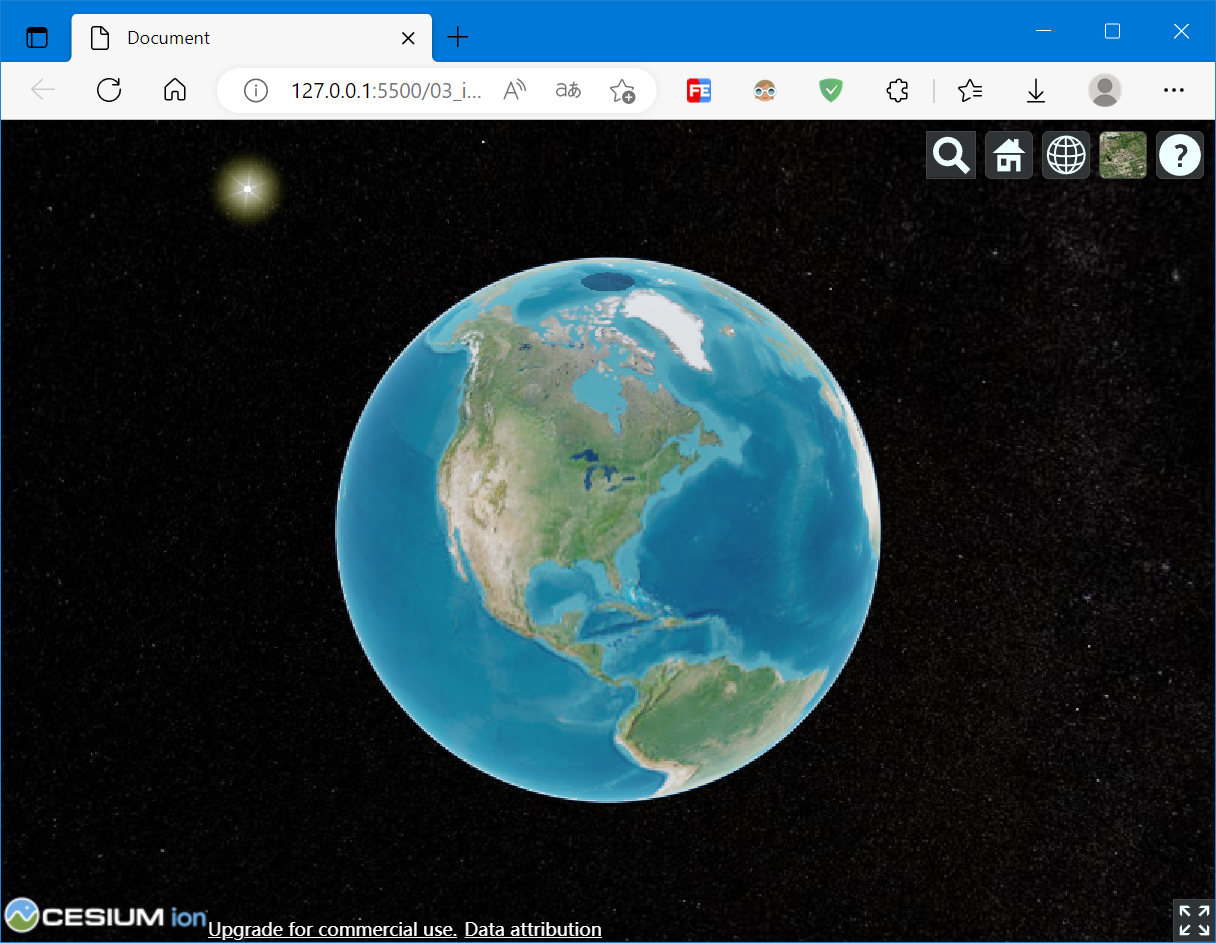
这里加载的是ESRI提供的地图,地址为:https://services.arcgisonline.com/ArcGIS/rest/services/World_Imagery/MapServer
<!DOCTYPE html>
<html lang="en">

<head>
    <meta charset="UTF-8">
    <meta http-equiv="X-UA-Compatible" content="IE=edge">
    <meta name="viewport" content="width=device-width, initial-scale=1.0">
    <title>Document</title>
    <style>
        html,
        body,
        #cesiumContainer {
            width: 100%;
            height: 100%;
            margin: 0;
            padding: 0;
            overflow: hidden;
        }
    </style>
    <!-- Include the CesiumJS JavaScript and CSS files -->
    <script src="https://cesium.com/downloads/cesiumjs/releases/1.101/Build/Cesium/Cesium.js"></script>
    <link href="https://cesium.com/downloads/cesiumjs/releases/1.101/Build/Cesium/Widgets/widgets.css" rel="stylesheet">
</head>

<body>
    <div id="cesiumContainer"></div>
    <script>
        Cesium.Ion.defaultAccessToken = 'eyJhbGciOiJIUzI1NiIsInR5cCI6IkpXVCJ9.eyJqdGkiOiJlMTk4ZTYyNy00MjkxLTRmZWYtOTg1MS0wOThjM2YzMzIzYzEiLCJpZCI6NzEyMSwic2NvcGVzIjpbImFzciIsImdjIl0sImlhdCI6MTU0ODMxNzI5OX0.rKV8Ldl_bgR3lVvNsbHhTX62j8JH8ADCIWAwk7tXpr8'
        const viewer = new Cesium.Viewer('cesiumContainer', {
            timeline: false,
            animation: false,
        })
        const provider = new Cesium.ArcGisMapServerImageryProvider({
            url: 'https://services.arcgisonline.com/ArcGIS/rest/services/World_Imagery/MapServer'
        })
        viewer.imageryLayers.addImageryProvider(provider)
    </script>
</body>

</html>
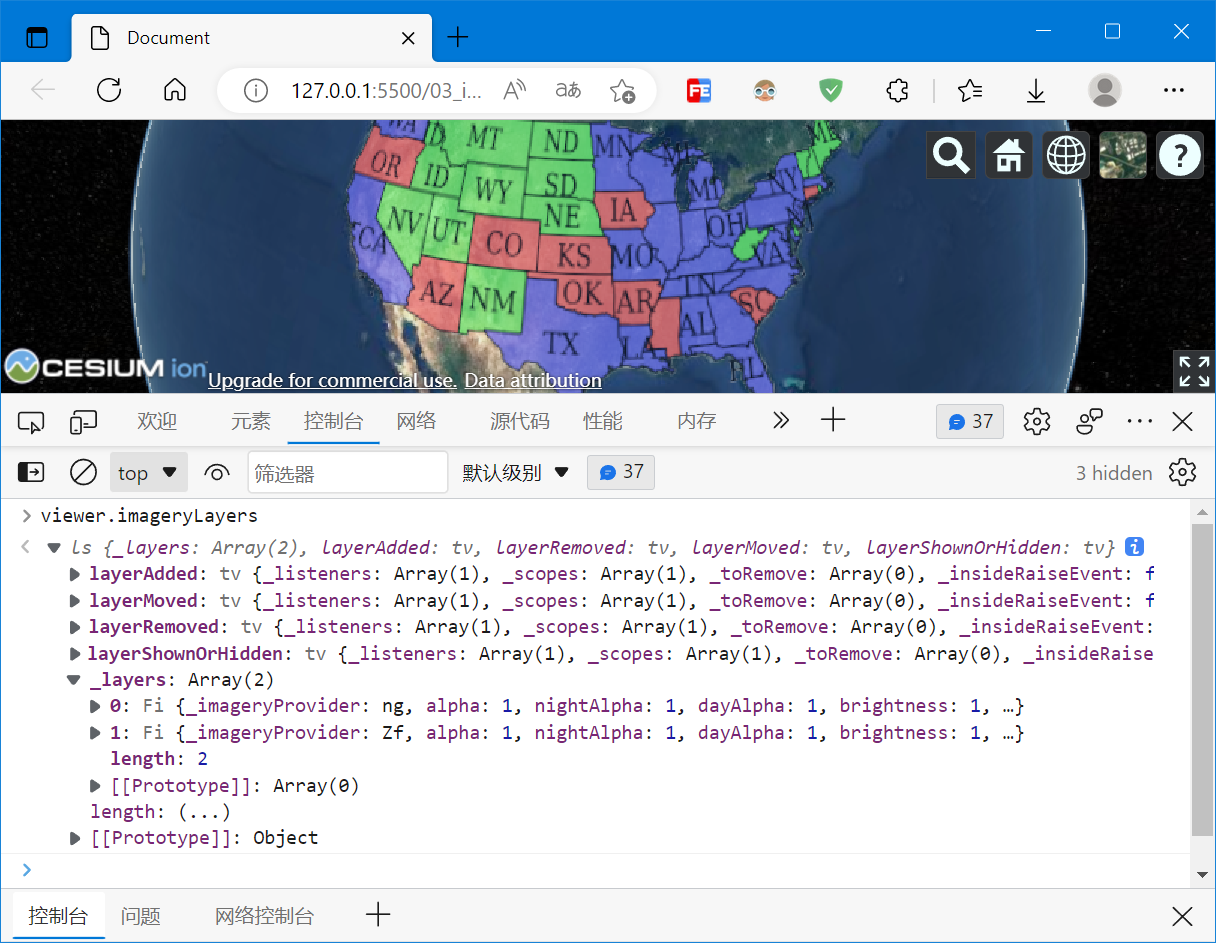
2.3 添加OGC服务
OGC服务主要有WMS、WMTS等,是OGC联盟制定的标准
主要步骤和添加第三方地图服务类似,选择并构造相应的imageryProvider,然后构造为imageryLayer,最后add到viewer中(也可以直接viewer.imageryLayers.addImageryProvider(provider))
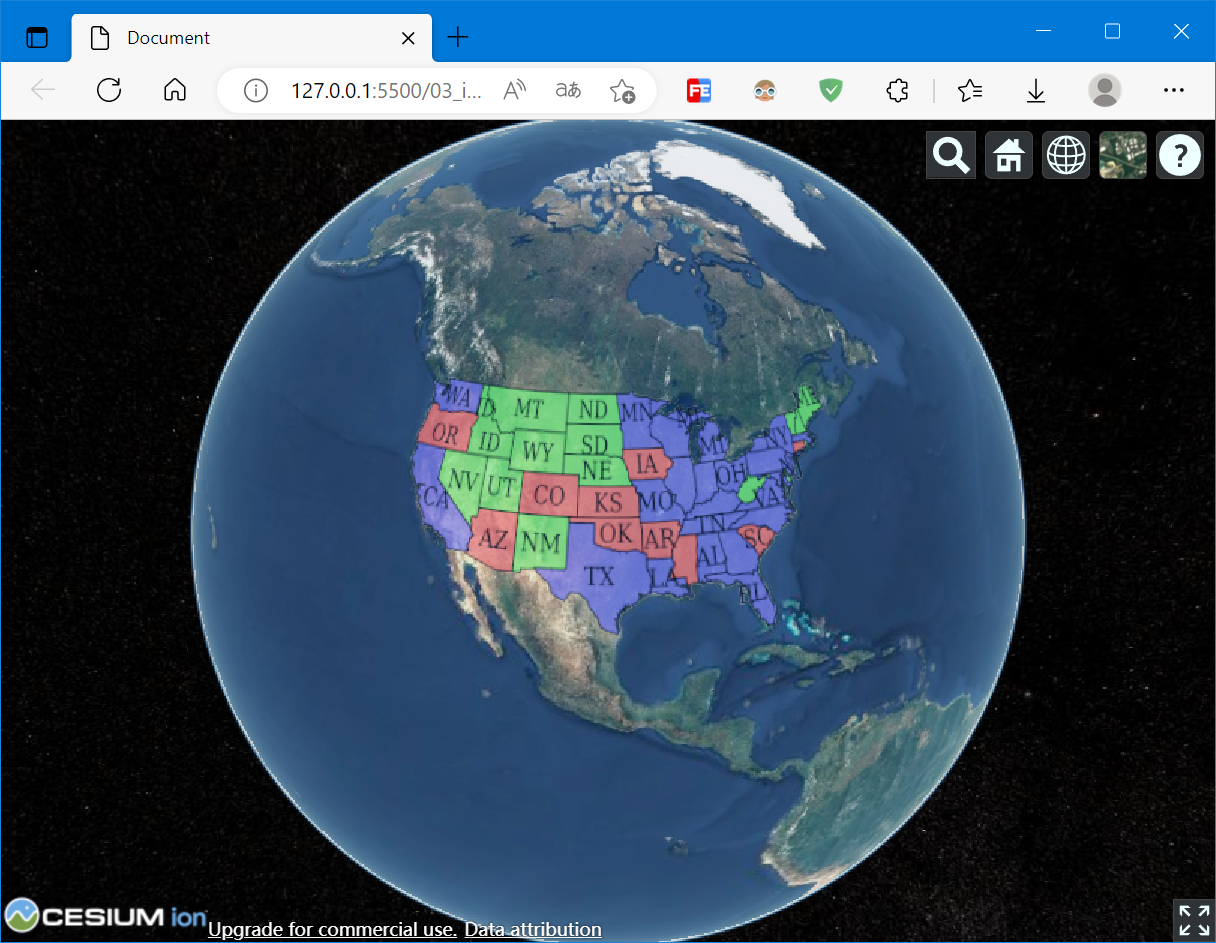
这里加载的是ahocevar.com提供的地图,地址为:https://ahocevar.com/geoserver/wms
<!DOCTYPE html>
<html lang="en">

<head>
    <meta charset="UTF-8">
    <meta http-equiv="X-UA-Compatible" content="IE=edge">
    <meta name="viewport" content="width=device-width, initial-scale=1.0">
    <title>Document</title>
    <style>
        html,
        body,
        #cesiumContainer {
            width: 100%;
            height: 100%;
            margin: 0;
            padding: 0;
            overflow: hidden;
        }
    </style>
    <!-- Include the CesiumJS JavaScript and CSS files -->
    <script src="https://cesium.com/downloads/cesiumjs/releases/1.101/Build/Cesium/Cesium.js"></script>
    <link href="https://cesium.com/downloads/cesiumjs/releases/1.101/Build/Cesium/Widgets/widgets.css" rel="stylesheet">
</head>

<body>
    <div id="cesiumContainer"></div>
    <script>
        Cesium.Ion.defaultAccessToken = 'eyJhbGciOiJIUzI1NiIsInR5cCI6IkpXVCJ9.eyJqdGkiOiJlMTk4ZTYyNy00MjkxLTRmZWYtOTg1MS0wOThjM2YzMzIzYzEiLCJpZCI6NzEyMSwic2NvcGVzIjpbImFzciIsImdjIl0sImlhdCI6MTU0ODMxNzI5OX0.rKV8Ldl_bgR3lVvNsbHhTX62j8JH8ADCIWAwk7tXpr8'
        const viewer = new Cesium.Viewer('cesiumContainer', {
            timeline: false,
            animation: false,
        })
        const provider = new Cesium.WebMapServiceImageryProvider({
            url: "https://ahocevar.com/geoserver/wms",
            layers: "topp:states",
            parameters: {
                transparent: true,
                format: "image/png"
            },
            proxy: new Cesium.DefaultProxy('/proxy/')
        })
        viewer.imageryLayers.addImageryProvider(provider)
    </script>
</body>

</html>
3. 参考资料
[1]Index - Cesium Documentation
[2][CesiumJS]Cesium入门6 - Adding Imagery - 添加图层 - Cesium中文网 (cesiumcn.org)