1.更改代理(方便步骤3)
方法一:go env -w GOPROXY="https://goproxy.cn" 颜色标注部分为代理
方法二:$env:GOPROXY="https://goproxy.cn" 该方法对我有效
http://mirrors.aliyun.com/goproxy/阿里云代理- https://goproxy.cn 七云牛代理
2.安装protoc
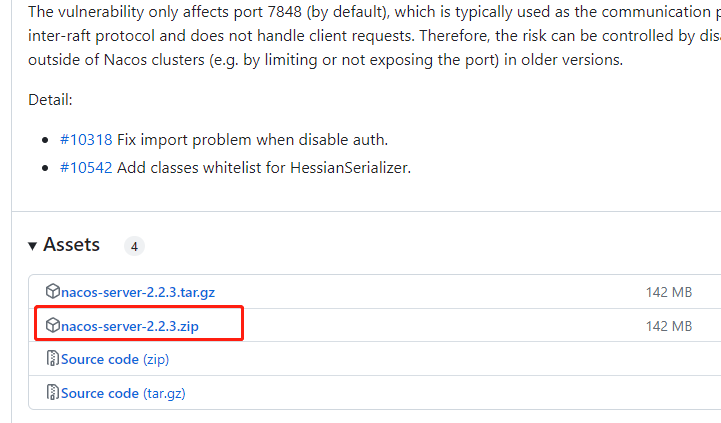
从该网站https://github.com/protocolbuffers/protobuf/releases/选择合适版本下载并解压,将其中的protoc.exe文件写入到环境变量就能使用
(我创建了一个相关的目录aboutProtobuf,然后将学习protobuf需要用到的东西都放到里面了,配置环境变量时也是使用该目录)
3.安装protoc-gen-go
使用该命令
go install github.com/golang/protobuf/protoc-gen-go@latest
直接安装protoc-gen-go,然后在GOPATH中,将protoc-gen-go.exe文件剪切到相关目录aboutProtobuf中
4.测试
//测试代码
syntax = "proto2";
package testProtobuf;
option go_package ="./testProtobuf";

message Person {
  required string name = 1;
  required int32 age = 2;
  optional string email = 3;

}
输入命令
protoc --go_out=. test.proto
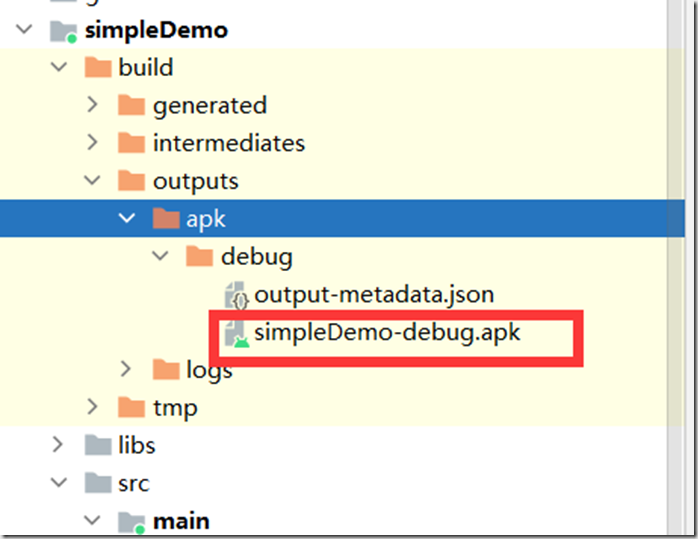
无报错,并且生成如下go文件
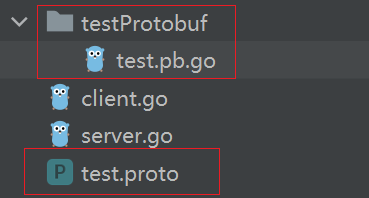
则成功
5.生成的go文件中google.golang.org/protobuf/reflect/protoreflect依赖爆红
在GOPATH/src目录下新建google.golang.org文件夹,并在该文件下使用命令:
git clone https://e.coding.net/robinqiwei/googleprotobuf.git protobuf


![原来你是这样的JAVA–[07]聊聊Integer和BigDecimal](https://img2024.cnblogs.com/blog/37001/202402/37001-20240224171021931-593439949.png)