一、ECK安装ES
1、在k8s 集群上安装 ECK
1.1 安装自定义资源
root@DESKTOP-H5OMIME:~# kubectl create -f https://download.elastic.co/downloads/eck/2.6.1/crds.yaml
customresourcedefinition.apiextensions.k8s.io/agents.agent.k8s.elastic.co created
customresourcedefinition.apiextensions.k8s.io/apmservers.apm.k8s.elastic.co created
customresourcedefinition.apiextensions.k8s.io/beats.beat.k8s.elastic.co created
customresourcedefinition.apiextensions.k8s.io/elasticmapsservers.maps.k8s.elastic.co created
customresourcedefinition.apiextensions.k8s.io/elasticsearchautoscalers.autoscaling.k8s.elastic.co created
customresourcedefinition.apiextensions.k8s.io/elasticsearches.elasticsearch.k8s.elastic.co created
customresourcedefinition.apiextensions.k8s.io/enterprisesearches.enterprisesearch.k8s.elastic.co created
customresourcedefinition.apiextensions.k8s.io/kibanas.kibana.k8s.elastic.co created
customresourcedefinition.apiextensions.k8s.io/stackconfigpolicies.stackconfigpolicy.k8s.elastic.co created
1.2 安装RBAC规则
root@DESKTOP-H5OMIME:~# kubectl apply -f https://download.elastic.co/downloads/eck/2.6.1/operator.yaml
namespace/elastic-system created
serviceaccount/elastic-operator created
secret/elastic-webhook-server-cert created
configmap/elastic-operator created
clusterrole.rbac.authorization.k8s.io/elastic-operator created
clusterrole.rbac.authorization.k8s.io/elastic-operator-view created
clusterrole.rbac.authorization.k8s.io/elastic-operator-edit created
clusterrolebinding.rbac.authorization.k8s.io/elastic-operator created
service/elastic-webhook-server created
statefulset.apps/elastic-operator created
validatingwebhookconfiguration.admissionregistration.k8s.io/elastic-webhook.k8s.elastic.co created
1.3 监控操作日志
root@DESKTOP-H5OMIME:~# kubectl -n elastic-system logs -f statefulset.apps/elastic-operator
{"log.level":"info","@timestamp":"2023-02-17T14:04:55.201Z","log.logger":"manager","message":"maxprocs: Updating GOMAXPROCS=1: determined from CPU quota","service.version":"2.6.1+62f2e278","service.type":"eck","ecs.version":"1.4.0"}
{"log.level":"info","@timestamp":"2023-02-17T14:04:55.202Z","log.logger":"manager","message":"Setting default container registry","service.version":"2.6.1+62f2e278","service.type":"eck","ecs.version":"1.4.0","container_registry":"docker.elastic.co"}
{"log.level":"info","@timestamp":"2023-02-17T14:04:55.202Z","log.logger":"manager","message":"Setting up scheme","service.version":"2.6.1+62f2e278","service.type":"eck","ecs.version":"1.4.0"}
{"log.level":"info","@timestamp":"2023-02-17T14:04:55.202Z","log.logger":"manager","message":"Operator configured to manage all namespaces","service.version":"2.6.1+62f2e278","service.type":"eck","ecs.version":"1.4.0"}
{"log.level":"info","@timestamp":"2023-02-17T14:04:56.004Z","log.logger":"controller-runtime.metrics","message":"Metrics server is starting to listen","service.version":"2.6.1+62f2e278","service.type":"eck","ecs.version":"1.4.0","addr":":0"}
{"log.level":"info","@timestamp":"2023-02-17T14:04:56.008Z","log.logger":"manager","message":"Setting up controllers","service.version":"2.6.1+62f2e278","service.type":"eck","ecs.version":"1.4.0"}
{"log.level":"info","@timestamp":"2023-02-17T14:04:56.009Z","log.logger":"manager","message":"Automatic management of the webhook certificates enabled","service.version":"2.6.1+62f2e278","service.type":"eck","ecs.version":"1.4.0"}
.....
2、部署Elasticsearch集群
2.1 拉取镜像
docker pull elasticsearch:8.5.0
2.2 构建自定义 elasticsearch 镜像
下载 es版本 对应 ik 分词器和拼音 插件
wget https://github.com/medcl/elasticsearch-analysis-ik/releases/download/v8.5.0/elasticsearch-analysis-ik-8.5.0.zip
wget https://github.com/medcl/elasticsearch-analysis-pinyin/releases/download/v8.5.0/elasticsearch-analysis-pinyin-8.5.0.zip
2.3 编写Dockerfile
FROM elasticsearch:8.5.0
COPY ./elasticsearch-analysis-ik-8.5.0.zip /home/
COPY ./elasticsearch-analysis-pinyin-8.5.2.zip /home/
RUN bin/elasticsearch-plugin install --batch file:/home/elasticsearch-analysis-ik-8.5.0.zip
RUN bin/elasticsearch-plugin install --batch file:/home/elasticsearch-analysis-pinyin-8.5.0.zip
2.4 构建定制elasticsearch镜像
docker build --tag elasticsearch-ik:8.5.0 .
2.5 快速部署一个单节点集群
命名空间 estest
指定镜像版本
禁用证书认证
root@DESKTOP-H5OMIME:~# cat <<EOF | kubectl apply -f -
apiVersion: elasticsearch.k8s.elastic.co/v1
kind: Elasticsearch
metadata:
  name: quickstart
  namespace: estest
spec:
  version: 8.5.0
  image: elasticsearch-ik:8.5.0
  nodeSets:
  - name: default
    count: 1
    config:
      node.store.allow_mmap: false
  http:
    tls:
      selfSignedCertificate:
        disabled: true
EOF
2.6 监控集群创建进程
root@DESKTOP-H5OMIME:~/test# kubectl get elasticsearch -n estest
NAME         HEALTH    NODES   VERSION   PHASE             AGE
quickstart   unknown           8.5.0     ApplyingChanges   8s
等待创建
root@DESKTOP-H5OMIME:~/test# kubectl get elasticsearch -n estest
NAME         HEALTH   NODES   VERSION   PHASE   AGE
quickstart   green    1       8.5.0    Ready   55s
2.7 查看镜像状态
kubectl get pods --selector='elasticsearch.k8s.elastic.co/cluster-name=quickstart' -n estest

NAME                      READY   STATUS    RESTARTS   AGE
quickstart-es-default-0   1/1     Running   0          79s
2.8 查看pod 日志
kubectl logs -f quickstart-es-default-0 -n estest
2.9 查看集群service 信息
root@DESKTOP-H5OMIME:~/test# kubectl get service quickstart-es-http -n estest
NAME                 TYPE        CLUSTER-IP      EXTERNAL-IP   PORT(S)    AGE
quickstart-es-http   ClusterIP   10.107.199.80   <none>        9200/TCP   103s
2.10 对外暴露访问端口(临时,当控制台关闭则访问失效)
kubectl port-forward service/quickstart-es-http 9200 -n estest
2.11 获取访问凭证并赋值变量
PASSWORD=$(kubectl get secret quickstart-es-elastic-user -n estest -o go-template='{{.data.elastic | base64decode}}')
2.12 本地终端访问
root@DESKTOP-H5OMIME:~# curl -u "elastic:$PASSWORD" -k "https://127.0.0.1:9200"
{
  "name" : "quickstart-es-default-0",
  "cluster_name" : "quickstart",
  "cluster_uuid" : "NsTB77UlQlyPQCfsAqPzQw",
  "version" : {
    "number" : "8.5.0",
    "build_flavor" : "default",
    "build_type" : "docker",
    "build_hash" : "180c9830da956993e59e2cd70eb32b5e383ea42c",
    "build_date" : "2023-01-24T21:35:11.506992272Z",
    "build_snapshot" : false,
    "lucene_version" : "9.4.2",
    "minimum_wire_compatibility_version" : "7.17.0",
    "minimum_index_compatibility_version" : "7.0.0"
  },
  "tagline" : "You Know, for Search"
}
3、部署Kibana 实例
3.1 拉取镜像
docker pull kibana:8.5.0
3.2 部署kibana 指定命名空间与镜像版本
cat <<EOF | kubectl apply -f -
apiVersion: kibana.k8s.elastic.co/v1
kind: Kibana
metadata:
  name: quickstart
  namespace: estest
spec:
  version: 8.5.0
  image: kibana:8.5.0
  count: 1
  elasticsearchRef:
    name: quickstart
EOF
3.3 监控 Kibana 健康状态与创建进程
kubectl get kibana -n estest
3.4 查看pod 状态
kubectl get pod --selector='kibana.k8s.elastic.co/name=quickstart' -n estest
3.5 查看Service集群IP
kubectl get service quickstart-kb-http -n estest
3.6 对外暴露访问端口(临时,当控制台关闭则访问失效)
kubectl port-forward service/quickstart-kb-http 5601 -n estest
3.7 获取elastic登录用户的密码
kubectl get secret quickstart-es-elastic-user -n estest -o=jsonpath='{.data.elastic}' | base64 --decode; echo
3.8 web 访问 https://127.0.0.1:5601
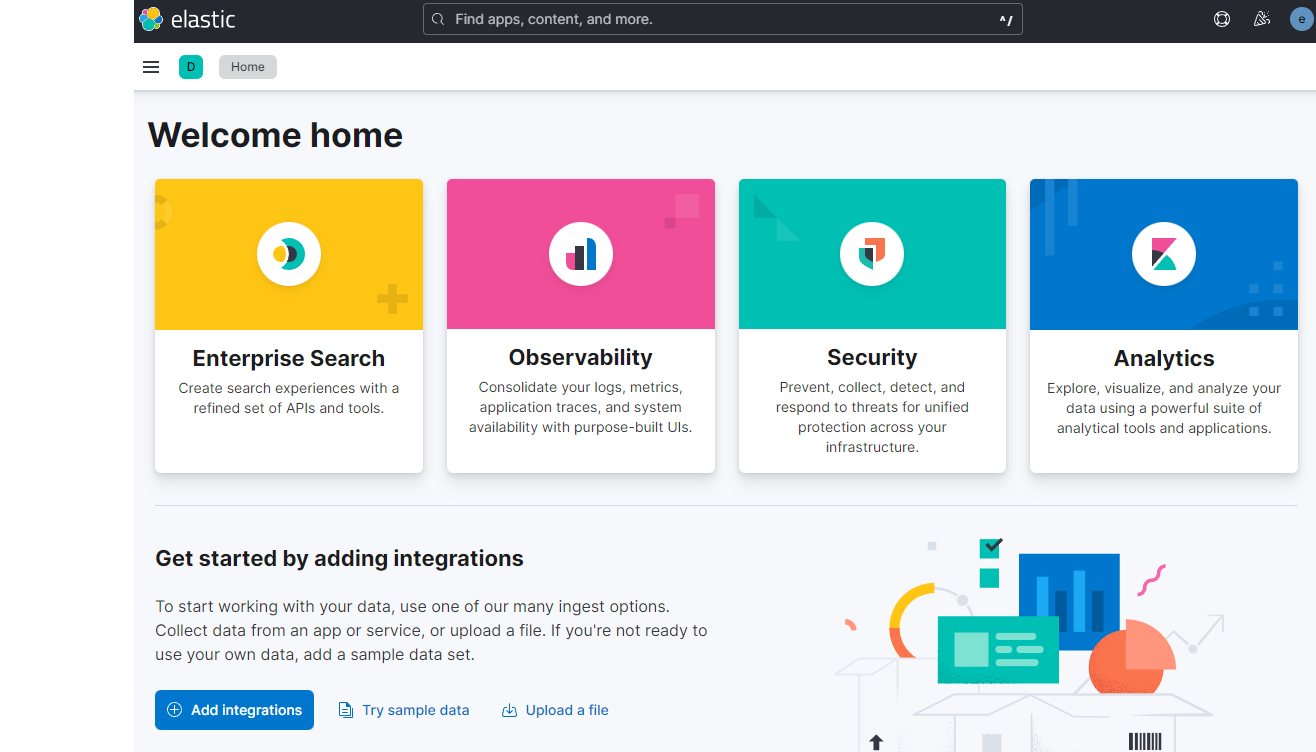
访问管理页面
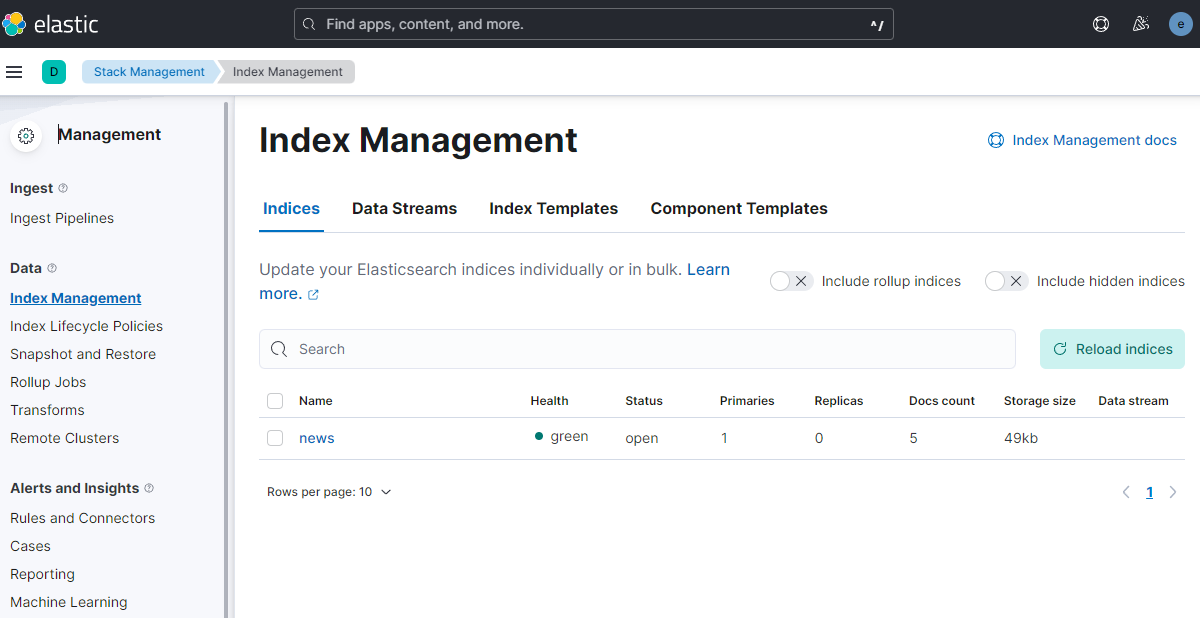
查看es 索引情况
查询页面
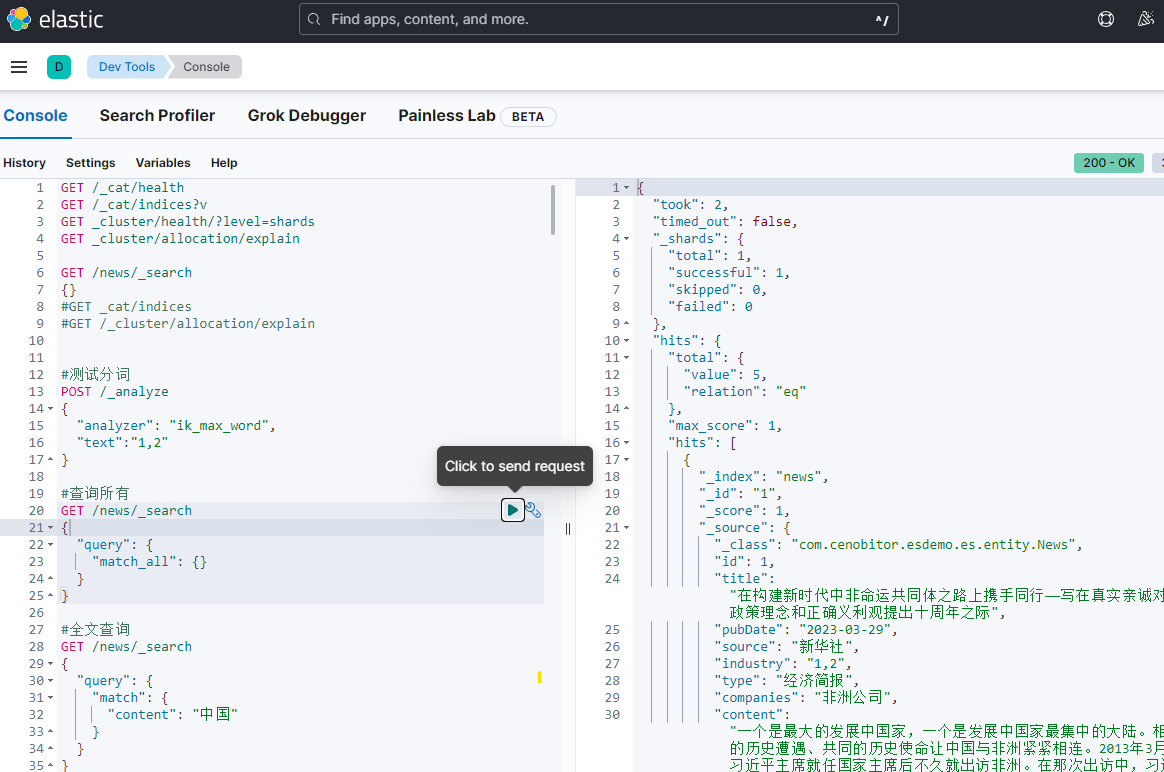
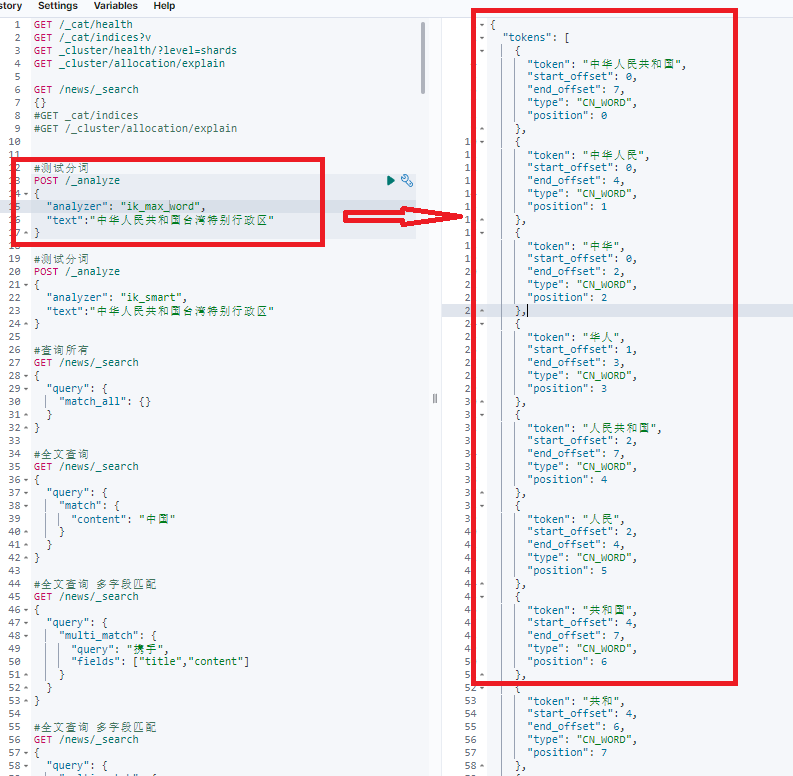
查看分词效果
#测试细分分词
POST /_analyze
{
  "analyzer": "ik_max_word",
  "text":"中华人民共和国台湾特别行政区"
}
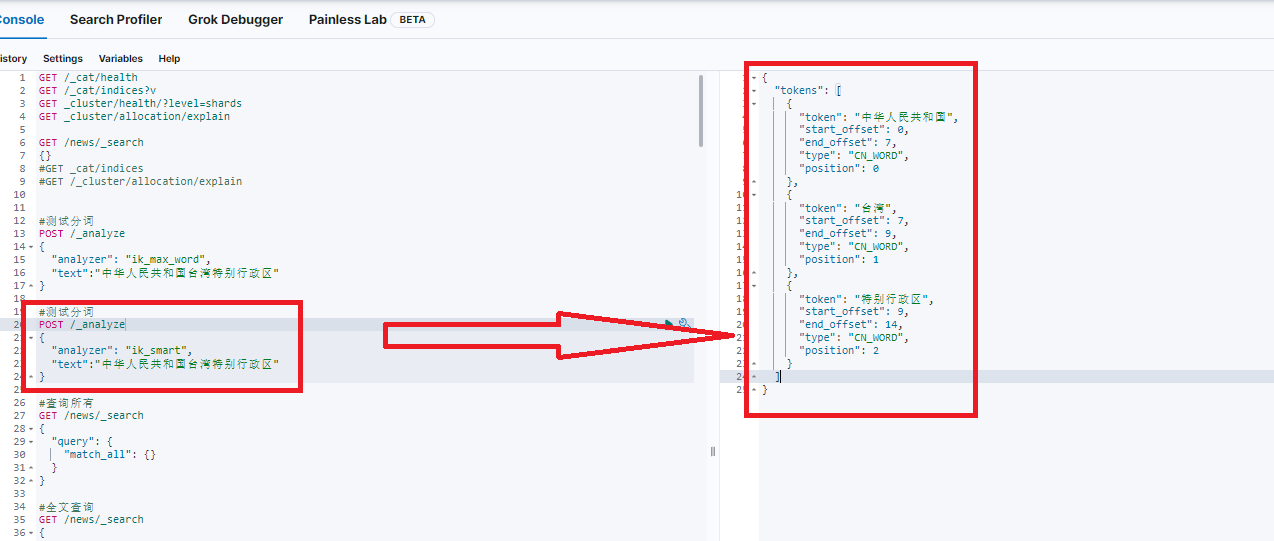
#测试分词
POST /_analyze
{
  "analyzer": "ik_smart",
  "text":"中华人民共和国台湾特别行政区"
}
4、卸载
4.1 卸载elasticsearch
root@DESKTOP-H5OMIME:~# cat <<EOF | kubectl delete -f -
apiVersion: elasticsearch.k8s.elastic.co/v1
kind: Elasticsearch
metadata:
  name: quickstart
  namespace: estest
spec:
  version: 8.5.0
  image: elasticsearch-ik:8.5.0
  nodeSets:
  - name: default
    count: 1
    config:
      node.store.allow_mmap: false
  http:
    tls:
      selfSignedCertificate:
        disabled: true
EOF
4.2 卸载kibana
cat <<EOF | kubectl delete -f -
apiVersion: kibana.k8s.elastic.co/v1
kind: Kibana
metadata:
  name: quickstart
  namespace: estest
spec:
  version: 8.5.0
  image: kibana:8.5.0
  count: 1
  elasticsearchRef:
    name: quickstart
EOF
4.4 卸载ECK
kubectl delete -f https://download.elastic.co/downloads/eck/2.6.1/crds.yaml
kubectl delete -f https://download.elastic.co/downloads/eck/2.6.1/operator.yaml