环境:VMware、CentOS-7-x86_64-DVD-2009.iso、nginx-1.26.1、php-7.2.0、postgresql-12
php最好安装对应php项目所需版本,否则会出现不兼容问题。
一、VMware安装CentOS7操作系统
下载 Linux Centos 7 映像:https://mirrors.aliyun.com/centos/7/isos/x86_64/?spm=a2c6h.25603864.0.0.62e64511P2vJCT
选择“CentOS-7-x86_64-DVD-2009.iso”
新建虚拟机
- 默认 典型(推荐),下一步
- 稍后安装操作系统,下一步
- Linux,版本 CentOS 7 64位,下一步
- 自行调整名称、位置,下一步
- 默认(拆分成多个文件),下一步
- 完成
- 编辑虚拟机设置
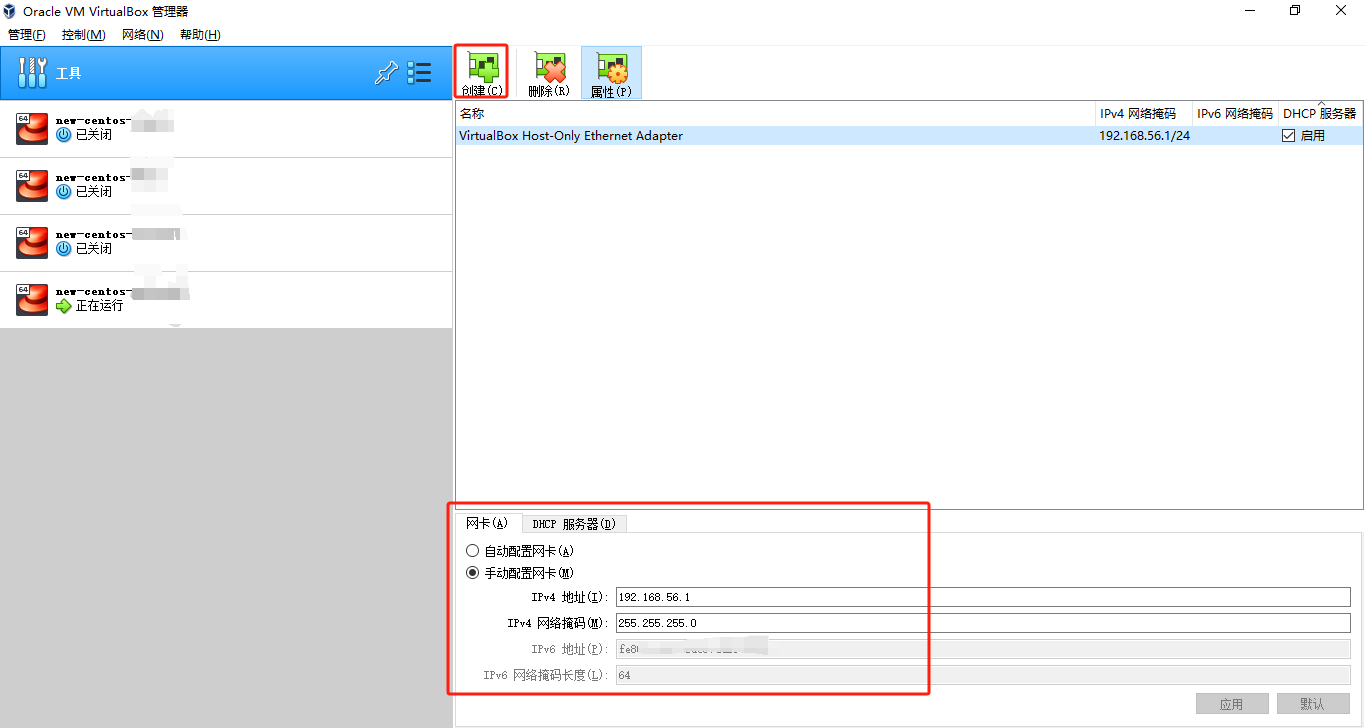
网络适配器,桥接模式(不用勾选“复制物理网络连接状态”)
CD/DVD,选择刚才下载的ISO映像文件
选项 -> 高级 -> 固件类型(选择UEFI)确定
开启虚拟机
- 选择第一个“Install CentOS 7”回车
- 等待弹出窗体,拉到最下选择“中文”简体中文,继续
- 点击安装位置,什么也不用动,左上角点击完成
- 网络和主机名,以太网开关打开,左上角点击完成
- 开始安装
- 配置 Root 密码,左上角点击完成
- 等待安装
- 重启
二、安装PostgreSQL数据库
PostgreSql官网 -> Download -> 选择Linux -> 再选择Red Hat/Rocky/AlmaLinux -> 选择(版本“12”平台“Red Hat Enterprise, CentOS, Scientific or Oracle version 7”架构“x86_64”)
选择完后,下面有对应命令,逐步执行即可
sudo yum install -y https://download.postgresql.org/pub/repos/yum/reporpms/EL-7-x86_64/pgdg-redhat-repo-latest.noarch.rpm
sudo yum install -y postgresql12-server --安装
sudo /usr/pgsql-12/bin/postgresql-12-setup initdb --初始化数据库
sudo systemctl enable postgresql-12 --开机启动 postgresql-12 服务
sudo systemctl start postgresql-12 --启动 postgresql-12 服务

修改密码
su - postgres    --切换用户
psql        --进入sql面板
alter user postgres with password 'postgres'; --修改密码,默认没有密码
\q          --退出sql面板
exit        --退出postgres用户shell会话
配置外网也可以连接数据库
/var/lib/pgsql/12/data/pg_hba.conf(
输入“:86”跳转86行;
按“i”编辑模式;
================================按照如下修改
# IPv4 local connections:
host    all             all             0.0.0.0/0            md5
# IPv6 local connections:
host    all             all             ::1/128              md5
================================
按“Esc”退出编辑模式
输入“:wq”保存退出)

vi /var/lib/pgsql/12/data/postgresql.conf(
:60	--跳转60行
将“#listen_addresses = 'localhost'”改为 “listen_addresses = '*'”)
sudo systemctl restart postgresql-12   --重新启动服务

psql -h localhost -p 5432 -U postgres  --验证连接
\q                    --退出

firewall-cmd --zone=public --add-port=5432/tcp --permanent --开启5432端口

firewall-cmd --reload									  --重启防火墙
三、安装php 7.2.0
安装依赖:yum -y install libxml2 libxml2-devel openssl openssl-devel bzip2 bzip2-devel libcurl libcurl-devel libjpeg libjpeg-devel libpng libpng-devel freetype freetype-devel gmp gmp-devel libmcrypt libmcrypt-devel readline readline-devel libxslt libxslt-devel icu libicu libicu-devel gcc-c++ php-pgsql php-pdo-pgsql postgresql-devel

mkdir /usr/local/php	  --创建目录

scp D:\System\tar.gz\php-7.2.0.tar.gz root@ip:/usr/local/php		--将本地包拷贝到服务器(用powershell执行此命令)

cd /usr/local/php			--切换目录

tar -zxvf /usr/local/php/php-7.2.0.tar.gz			--解压

cd php-7.2.0         --切换目录

编译:./configure --prefix=/usr/local/php --with-config-file-path=/usr/local/php/etc --with-pdo-pgsql --enable-fpm --with-fpm-user=nginx --with-fpm-group=nginx --enable-mysqlnd --with-mysqli=mysqlnd --with-pdo-mysql=mysqlnd --with-iconv-dir --with-freetype-dir=/usr/local/freetype --with-jpeg-dir --with-png-dir --with-zlib --with-libxml-dir=/usr --enable-xml --disable-rpath --enable-bcmath --enable-shmop --enable-sysvsem --enable-inline-optimization --with-curl --enable-mbregex --enable-mbstring --enable-intl --enable-pcntl --enable-ftp --with-gd --with-openssl --with-mhash --enable-pcntl --enable-sockets --with-xmlrpc --enable-zip --enable-soap --with-gettext --disable-fileinfo --enable-opcache --with-xsl

make && make install		--安装

cp php.ini-production /usr/local/php/etc/php.ini     --把php.ini拷贝到安装目录下的配置文件目录

cp sapi/fpm/init.d.php-fpm /etc/init.d/php-fpm			--将php-fpm控制脚本加入到/etc/init.d/下

chmod +x /etc/init.d/php-fpm							--给予可执行权限

cp /usr/local/php/etc/php-fpm.conf.default /usr/local/php/etc/php-fpm.conf

cp /usr/local/php/etc/php-fpm.d/www.conf.default /usr/local/php/etc/php-fpm.d/www.conf

vi /usr/local/php/etc/php-fpm.conf(按照如下修改
pid = /usr/local/php/var/run/php-fpm.pid
error_log = /usr/local/php/var/log/php-fpm.log
log_level = notice)

vi /usr/local/php/etc/php-fpm.d/www.conf(按照如下修改
user = www
group = www)

sudo groupadd www				--创建“www”组

sudo useradd -r -g www www		--创建“www”用户并添加到 www 组

php-fpm命令(执行启动
/etc/init.d/php-fpm start   #启动
/etc/init.d/php-fpm stop    #停止
/etc/init.d/php-fpm restart #重启
chkconfig php-fpm on     #开机启动)

vi /etc/profile(在末尾添加export PATH="/usr/local/php/bin:$PATH") --将php添加到环境变量

source /etc/profile --重新加载

php -v
四、安装nginx 1.26.1
mkdir /usr/local/nginx --创建目录

scp D:\System\tar.gz\nginx-1.26.1.tar.gz root@ip:/usr/local/nginx --将本地包拷贝到服务器(用powershell执行此命令)

tar -zxvf /usr/local/nginx/nginx-1.26.1.tar.gz --解压

yum install -y gcc zlib zlib-devel openssl openssl-devel pcre pcre-devel --安装依赖

cd /usr/local/nginx/nginx-1.26.1 --切换目录

./configure --编译

make && make install --安装

firewall-cmd --zone=public --add-port=80/tcp --permanent --开启80端口

firewall-cmd --reload --重启防火墙

/usr/local/nginx/sbin/nginx --启动nginx
浏览器地址栏输入http://ip出现如下图,安装成功

五、自行配置nginx.conf
vi /usr/local/nginx/conf/nginx.conf